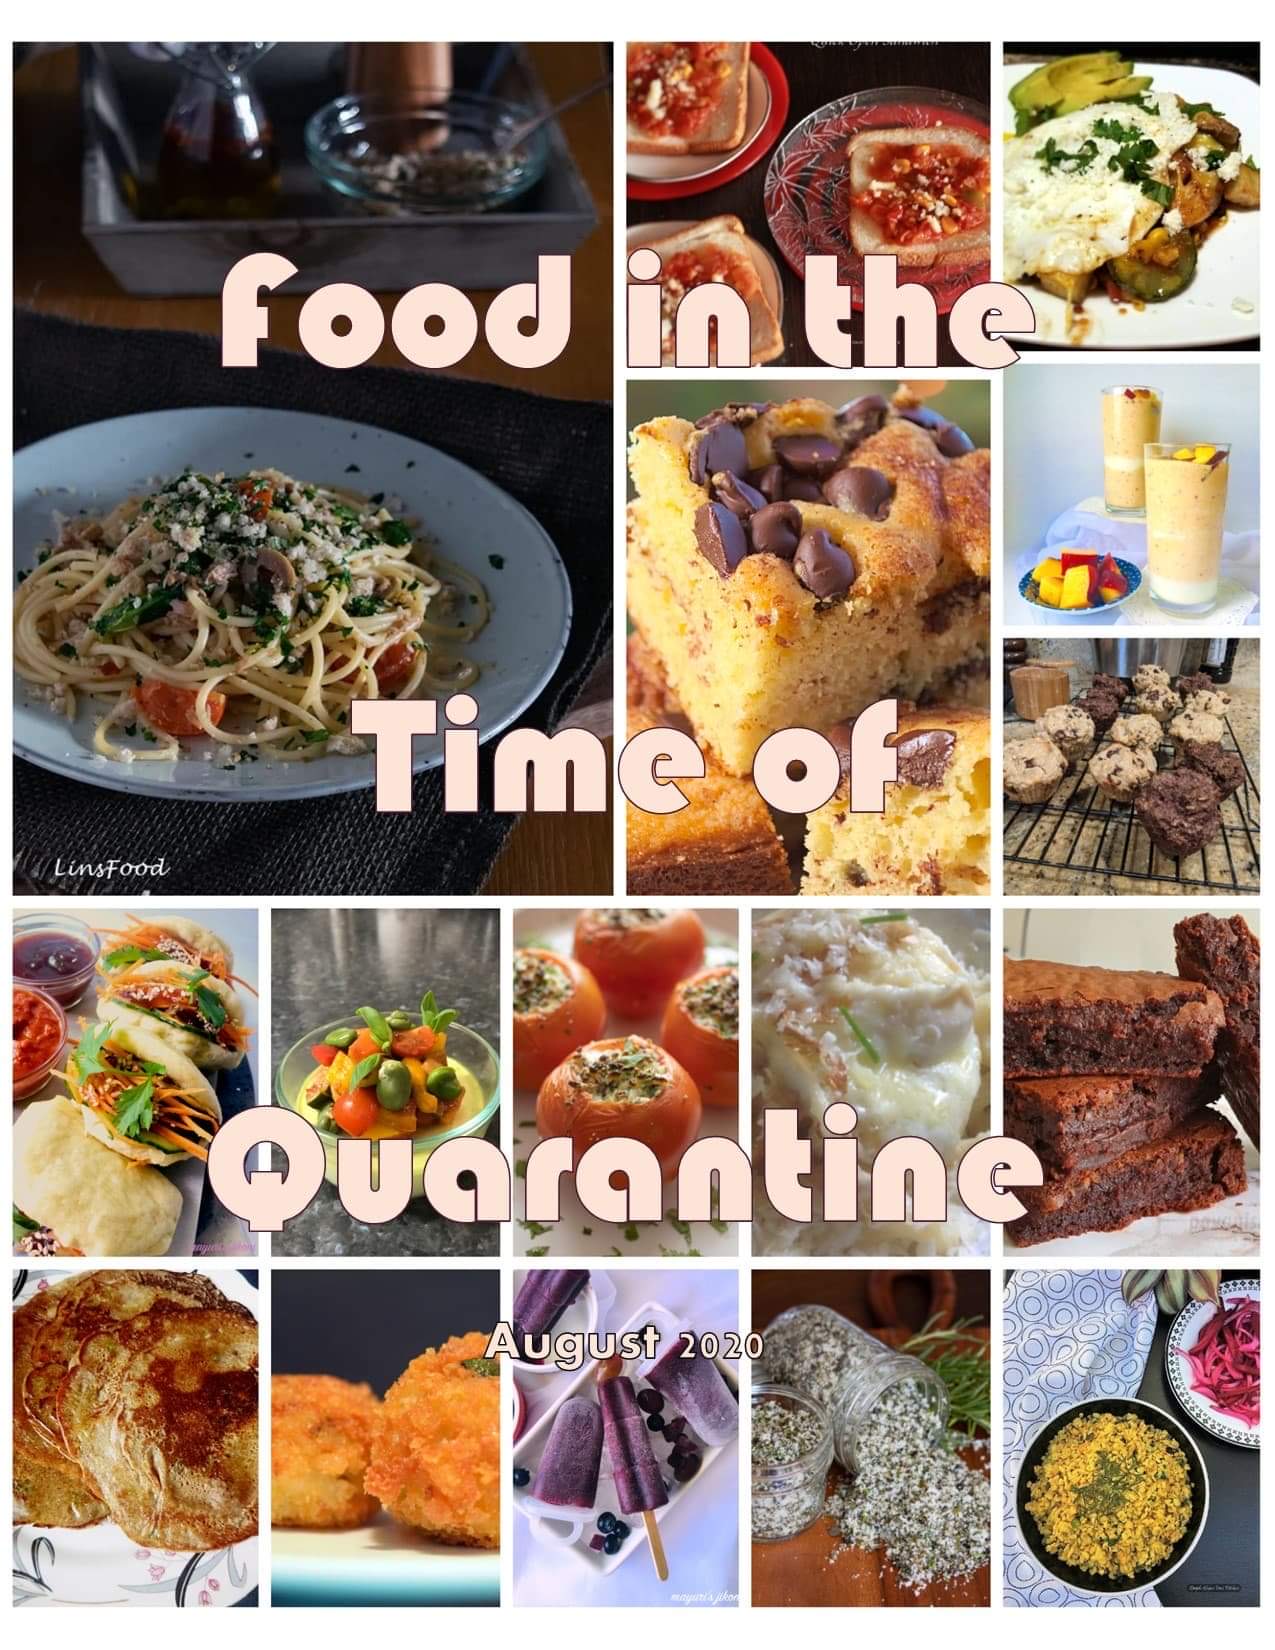
Food in the Time of Quarantine Holiday Issue
We are living in difficult times. As the holidays roll around and it is looking unsafe to visit family, we must try to connect as best we can and find joy wherever we can. Hopefully we can spark a bit of goodwill with a few food ideas to treat yourself and those in your bubble.
The hope is, as the song says "may your days be merry and bright"
If you are looking for some extra goodwill or want to cook yourself a festive meal, we can offer you our recipe magazine, free for everyone to download. In it you will find mains, sides, appetizers, desserts, cocktails and even homemade gifts!
Download a free .pdf here: Food in the Time of Quarantine Dec 2020

Grand Marnier Truffles
This holiday season, why not give your loved ones the gift of chocolates to show them how much you care? It is surprisingly easy. Instead of Grand Marnier, you can customize these truffles by steeping tea leaves in your cream mixture before pouring it over the chocolate. To temper your chocolate, melt 3/4 of the chocolate reserved for the shells and bring the temperature of the melted chocolate quickly down by removing the chocolate from the heat and adding the remaining 1/4 chopped chocolate

Grand Marnier Truffles
3/4 cups cream
3 Tablespoons unsalted butter, melted and clarified
3 Tablespoons Grand Marnier
8 ounces good quality (70% or better) semi sweet dark chocolate, chopped
5 ounces good quality milk or dark chocolate, chopped
1. Create the ganache: heat cream over low heat and add orange zest, allowing it to steep for 5 minutes (if you’re not planning to use orange zest. Bring cream up to a low boil and turn heat off immediately. Add Grand Marnier and clarified butter to cream and whisk to combine.
2. Place your 8 ounces chopped dark chocolate into a stainless steel bowl and pour hot cream and butter mixture through a sieve into the chocolate.
3. Stir to melt chocolate with the heat from the cream and butter mixture. When everything has been combined and all chocolate has been melted, set aside in a dry, cool place to come to room temperature.
4. In roughly 30 minutes, when the ganache has set, form into Tablespoon sized balls. Cover tightly and set briefly in the fridge while you melt the remaining chocolate.
5. Fill the bottom of a double boiler with about 3 inches of hot water and bring to a temperature just below a simmer. Put 5 ounces chopped chocolate in the top layer of the double boiler and melt, stirring frequently to avoid burning.
6. Take melted chocolate off of the heat and dip ganache balls into it one by one, balanced on the tines of a fork. Shake excess chocolate off after each truffle is dipped. Set covered truffles on a parchment lined sheet tray to cool. Store in an airtight container in the fridge, or package in cute boxes to give out as gifts.