Thursday, October 17, 2024
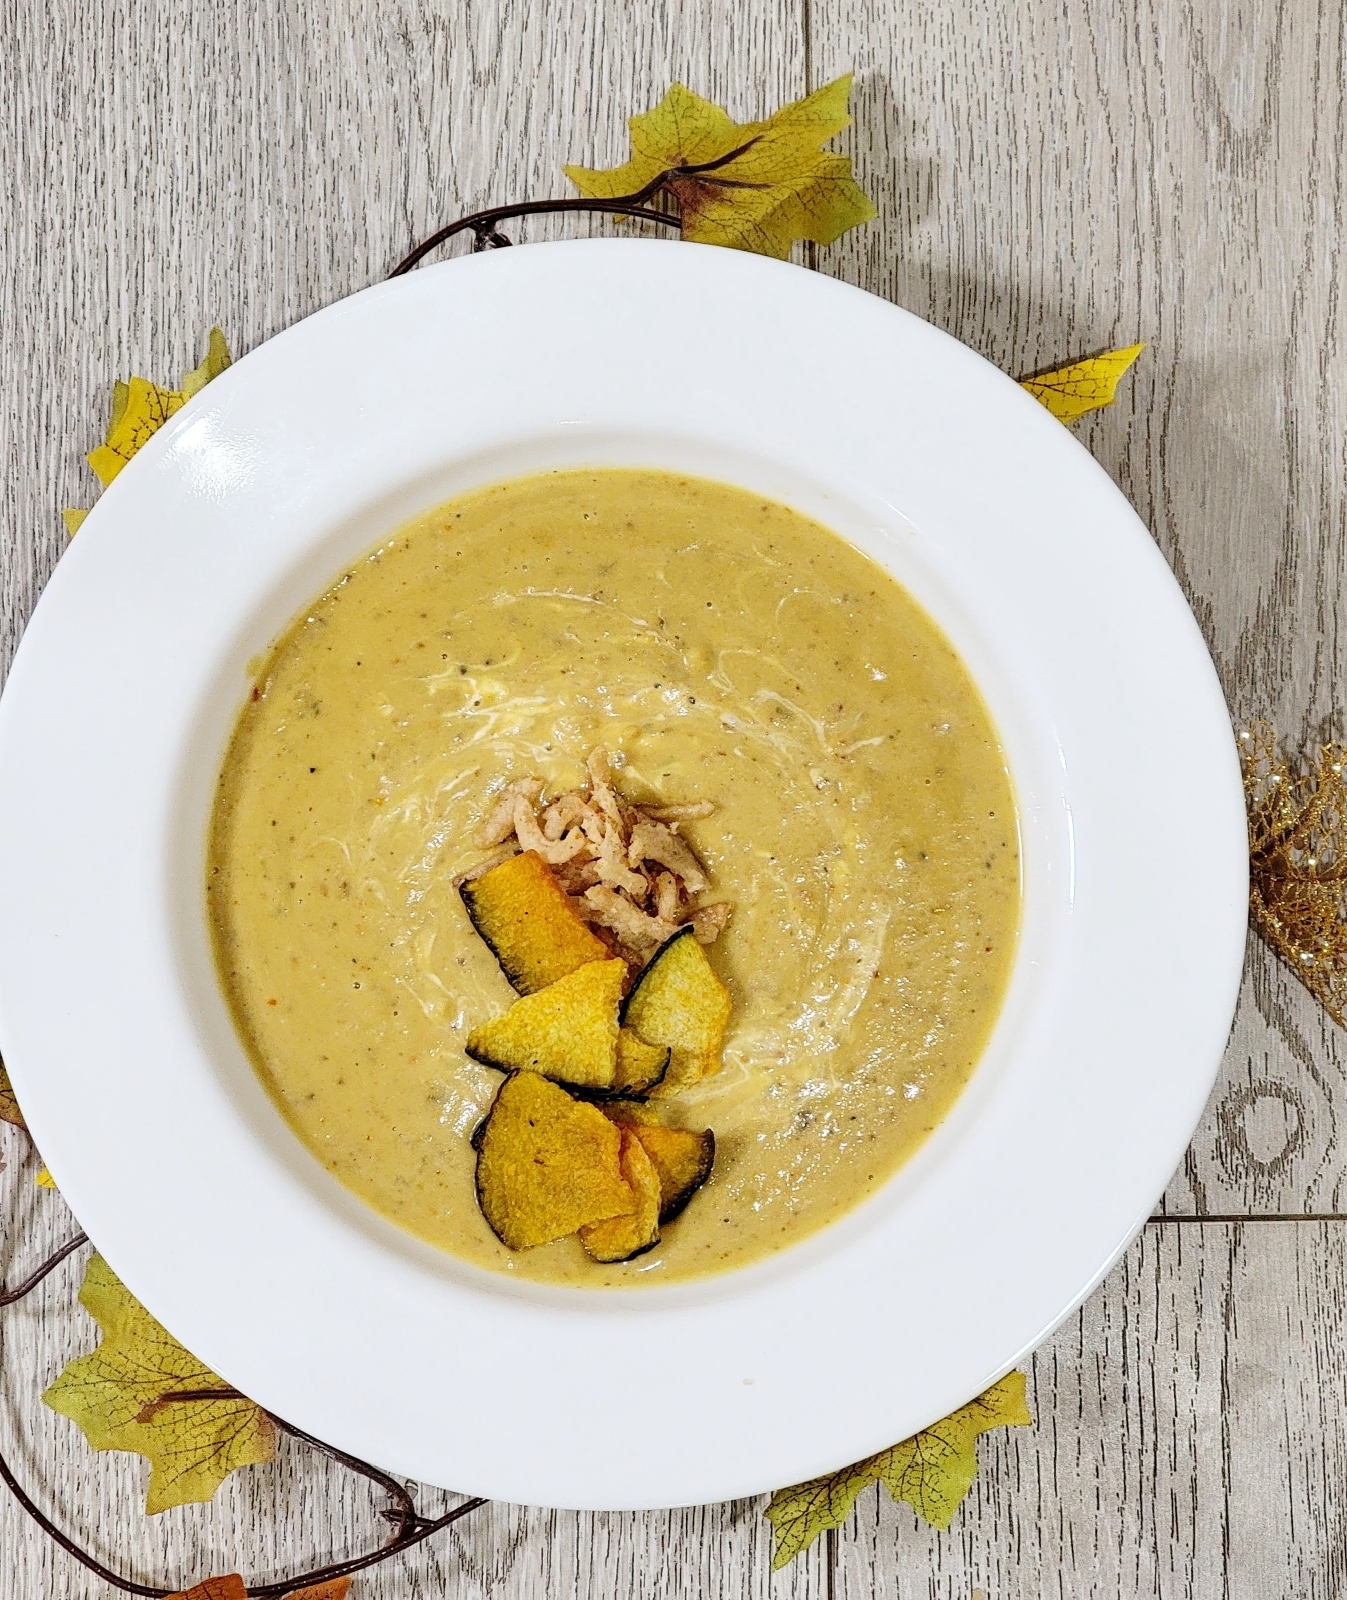
Coconut Curry Squash Soup with Chickpeas
Wednesday, December 27, 2023
Sweet Potato Hand Pies
Tuesday, November 21, 2023
Thanksgiving Day Master - Fabulous Sides and Homemade Cranberry Sauce
Tuesday, August 8, 2023
Pickled Smacked Cucumber Salad (Ottolenghi Inspired Recipe)
I usually write about what inspired the dish I'm sharing. In the case of this glorious salad it was nothing more complicated than happening upon the video for a very similar dish from Yotam Ottolenghi's test kitchen. I was instantly impressed by the quick pickles, the way the chef broke up the cucumber (hence the word smacked in the title) and the clever use of salt to draw the excess moisture from the cucumbers…to then use that moisture to season part of the dish. The techniques were remarkable, the flavors fabulous, and I knew I had to try it for myself.
Pickled smacked cucumber salad with couscous is a play on the glorious recipe from Ottolenghi’s test kitchen. It was tart, it was fresh and so lovely from the herbs and lightly pickled vegetables. I’m very thankful for this great idea!
Pickled Smacked Cucumber Salad
via
Ingredients
1 large cucumber
1/4 cup filtered water
1/4 cup vinegar (any kind)
1/2 Tablespoon kosher salt
1 Tablespoon sugar
1 dried chili pepper (any type; I have dried cayennes)
1/2 Tablespoon pickling seasoning (which I highly recommend as a pantry staple, and which consists of mustard seed, coriander seed, lightly crushed bay leaves, peppercorns, spice clove and crushed red pepper flakes)
One peeled garlic clove, lightly crushed
2 green onions, whites and greens, sliced on the bias
1 shallot, thinly sliced
Pinch salt
2 ish Tablespoons olive oil
1 Tablespoon chopped or torn mint leaves
1/2 Tablespoon dill fronds
1/2 cup cooked couscous
Method
Smack the cucumbers well with something thin and dense (think the handle of a rolling pin or of a wooden spoon), then tear into bite sized pieces. In a bowl, cover the cucumber pieces with salt and allow to sit for 10-20 minutes (to extract water and also to add extra, concentrated cucumber flavor to the salad). Meanwhile, make the brine: over medium heat combine the water, vinegar, salt, sugar, garlic, dried chili pepper and pickling spice (if using). Cook until the salt and sugar have dissolved and take off the heat. Set aside to cool. Now slice the shallots thinly and tear or chop your herbs up. When the pickling liquid has cooled, strain it. Add the shallots to the cucumbers and pour the water/vinegar (brine) mix over them and allow to sit for 5 - 20 minutes (however much time you have patience for). Add in couscous, herbs and scallions. Drizzle with olive oil and mix to combine. Serve with yogurt or feta.
Sunday, July 9, 2023
Pickled Red Onions
![]() |
Do you love taco night? Perhaps you also want to up your sandwich game, or maybe you just love pickles? In any of those situations, making your own pickled red onions at home, a super easy task, is just the thing for you! They’re great with tacos, wonderful over tostadas, nachos, fried eggs (especially with crema or cotija) and with quesadillas. They’re also fabulous on a sandwich with a nice sharp cheese and roast beef or deli turkey. On a hot dog. Equally delicious over rice bowls. A really versatile pickle that you will love to add to your favorite condiments. If you have leftover brine, it can be used to pickle any fresh vegetables you want to use up. Some ideas are asparagus to green beans, cauliflower, carrots, radish or cucumbers.
Pickled Red Onions
Yield 2 (8oz) jars
Ingredients
For the Brine
1 cup vinegar
1 cup filtered water
1 Tablespoon kosher salt
2 ½ Tablespoons sugar
For the pickles & aromatics
1 red onion, sliced thinly
1 fresh jalapeno pepper, sliced into rings (see notes)
2 cloves garlic, peeled
1/2 teaspoon whole black peppercorns, divided
2 bay leaves (preferably fresh)
Method
In each of your jars place 1/4 teaspoon black peppercorns, 1 clove garlic, 1 bay leaf and 1/2 jalapeno. These are your pickling aromatics. Over the pickling aromatics, pack in 1/2 sliced red onion (for each jar). In a small saucepan, heat the brine ingredients until the salt and sugar has fully dissolved. Allow to cool until warm, then pour equally over the contents of each jar until the onions are fully submerged in brine. Cover. Once the jars are cool to the touch, refrigerate. After one hour of steeping (between cooling down and refrigeration) they will be ready to consume. They will keep, covered, in the fridge for up to 2 weeks. If you spot any white, black or other discolored spots, discard immediately. This recipe is for quick (refrigerator) pickles and cannot be safely canned.
Notes
If you prefer less spicy pickles, make sure to remove the seeds and ribs of the jalapenos. They can be omitted or, if you like spicier pickles, swapped out for hotter chilies. If you have and are comfortable using a mandoline slicer, it slices the onions quickly and evenly.
Tuesday, April 25, 2023
Chicken Shawarma Spiced Sheet Pan Dinner with Roasted Carrots
Sunday, April 2, 2023
Pickled Beet Devilled Eggs
Spring has sprung and Easter is around the corner. The season for beautifully dyed eggs. You may think there is no unique way to serve dyed eggs. After all, Easter egg salad is fairly ubiquitous now. I’m here to tell you there is yet one more way to add some pizzazz to your egg dishes this holiday: pickled beet devilled eggs. Using the bright fuschia brine to dye the outside of your boiled eggs will lend them only a hint of sweetness, which the sprinkle of minced pickled beets will complement well. Mainly we will use the brine for aesthetic purposes. But in the end you’ll not only have gorgeous and unique devilled eggs, you’ll also have a couple of jars of fabulous pickled beets. In their brine in covered jars they will keep for up to 4 months. They are great with lightly bitter greens, such as arugula or radicchio. Fabulous with tangy or salty cheese. Really great as an accompaniment to any stuffed pita or Mediterranean dish. For more culinary uses for pickled beets, see notes.
Pickled Beets
Ingredients
2 lbs beets, washed, peeled, & cut into bite sized chunks (see notes)
1 cup filtered water
1 cup granulated sugar
1 cup white vinegar
1 Tablespoon kosher salt
1 teaspoon whole cloves
2 bay
leaves
1 teaspoon gently crushed black peppercorns
2 peeled whole cloves of garlic
2 - 3 large sprigs dill
Method
Have sterilized jars at the ready, complete with lids. Fill jars with the aromatics, evenly divided, and chopped, boiled beets. Bring water, sugar, vinegar, and salt to a boil, then reduce to a simmer. Cook until the sugar and salt have dissolved, then pour over beets in jars. Allow jars to steep at least one hour before using the brine to marinate your boiled eggs.
Pickled Beet Devilled Eggs
Ingredients
6 hard boiled eggs, peeled
Pickled beet brine to cover (see notes)
2 Tablespoons pickled beets, minced
2 Tablespoons mayonnaise
1/2 Tablespoon dijon mustard
A tiny pinch paprika
Salt, to taste
Pepper, to taste
Method
Marinate whole peeled eggs in brine for a minimum of 30 minutes and a maximum of 24 hours (the longer they marinate the thinner the white will become, so the best length of time for marination shouldn’t exceed 8 hours). Remove eggs and pat dry. Slice in half lengthwise and remove yolks. In a bowl mix yolks, mayonnaise, mustard, cayenne, salt and pepper, until it forms a smooth paste. Set egg whites on your serving platter, cut side up. Over the mouth of a tall glass, put a pastry bag or ziploc bag, open. Aim one of the corners of the bag at the bottom of the glass. Fill the bag with yolk mixture, cut off the corner, and pipe into the cavity of the egg whites. If you have piping tips you can use them on the bag (place in the corner before the bag is filled and the corner is cut); they will make the yolks look a bit prettier. If you don’t have piping tips it will still look gorgeous. When you have used up the yolk mixture/filled all the egg whites, sprinkle the finished dish with minced pickled beets and serve. Best served fresh. Anything with mayonnaise should not sit around in warm temperatures.
Notes
To boil beets, trim off tails and tops, place in a pot of boiling water (add 2 Tablespoons or so acid, such as lemon juice or vinegar, to prevent color bleeding) to cover. Boil until a knife can be inserted easily into the beets, 25 minutes to 1 hour, depending on size. Remove from water. While still warm, rub the skins off with a tea towel (the skin will come off easily).
This will make 1 1/2 to 2 pint jars full of pickled beets. They are great in salads, especially salads with soft tangy cheeses. They are also great chopped into a relish, with couscous, with falafel, great in egg salad, on their own and would likely be great to replace some of the beets in a borscht. For marinating the eggs, the amount of brine needed will depend on the size of your marinating dish.
Saturday, October 8, 2022
Creamy Pumpkin Pasta with Sausage & Kale
I am so excited to realize a long term dream of mine and finally branch out into making cooking videos! I’ve now got a TikTok account and will also be adding a YouTube channel in the near future.Of course I have watched loads of these short form cooking videos, to learn the most popular format (also because I can’t resist learning about new foods).
Lately I’ve been seeing a fabulous trend: creamy, silky pumpkin pasta sauce. In some instances this is created by combining pasta water with pumpkin puree and in others the puree is thinned by cream. I’ve decided to go the cream route, as well as incorporating some white wine. To balance the sweet I’ve added kale and to heighten the decadence of the rich, creamy sauce I’ve added mild Italian sausage. The anise in the sausage brings out the lightly sweet notes in the kale and is a fabulous compliment. If you like a bit of crunch you could add toasted pine nuts over top of the finished dish.
Creamy Pumpkin Pasta with Sausage & Kale
Ingredients
6 ounces chopped kale, stems discarded
1/4 cup chopped shallots
1/2 cup white wine
1/2 cup cream
1/2 cup (reserved) pasta water (see method)
1 lb sweet Italian sausage
1 1/2 cups pumpkin puree
1 lb thick spaghetti or bucatini
3 Tablespoons Olive Oil
Salt, to taste
Pepper, to taste
For serving:
Fresh parmesan
Chopped Parsley
Toasted chopped nuts
Method
Bring a large pot of heavily salted water to the boil. Meanwhile, In a large, heavy bottomed saucepan over medium heat, add olive oil and sausage. Once the water is boiling add pasta and cook according to package directions. Break up sausage into small bits and saute until thoroughly cooked, scoop out sausage into a bowl and set aside, leaving the fat in the pan. In the fat saute shallots until starting to brown, then add kale. Saute until kale begins to crisp lightly, then add wine and pasta water to deglaze. Once kale is cooked to your liking, scoop it out into the bowl with the sausage, leaving liquid and fat in the pan. Turn heat to low, add pumpkin and cream, stirring to combine. When the pumpkin is combined, reintroduce kale and sausage and add pasta and toss to combine thoroughly. Serve hot topped with grated parmesan, chopped parsley and toasted nuts (if desired).
Tuesday, May 17, 2022
Kale & Toasted Pecan Pesto
Are you growing kale in your garden? We’ve had lots of cold weather this spring, but it was interspersed with some very hot weather and so my brassicas, kale included, have all bolted (gone to seed). I'd been planning to make some kale pesto even before I’d realized they'd bolted (seems like it happens overnight!). I'd had broccoli raab pesto at a restaurant before with littleneck clams, navy beans and spicy sausage tossed with farfalle and it was excellent. The fresh, grassy, sweet broccoli taste was present, but was in no way overwhelming. I had a similar good feeling about the taste of kale pesto, and I am pleased to say I was right. It was just as delightful as its broccoli raab counterpart and even less funky. The toasted pecans lent it a lovely bit of sweetness. It is a good way to use up Kale that has bolted, as it does not taste bitter, especially alongside the sweet, nutty toasted pecans. I never include cheese in my pesto (only add it at the time of serving), as it keeps better in the fridge.
The first night we enjoyed it on oversized macaroni noodles with lots of parmesan. Night two we enjoyed it with a sweet potato fry and andouille sausage tray bake. It was delightful! I’ve included the recipe for the pesto as well as the tray bake. For the tray bake, any spicy sausage will do, as long as it is already fully cooked.
Kale Pesto
Yield: 1.5 cups
Ingredients
2 cups kale, stems trimmed off
5 cloves garlic, peeled
1 cup olive oil
Big pinch kosher or sea salt
1/2 cup toasted pecans (toast at 350 for no more than 3 minutes)
Parmesan, Romano or Pecorino for serving (to taste)
Method
Combine all ingredients except cheese in your blender. Pulse until it has become a silky paste.
To Serve
Boil pasta according to package directions. When pasta is done, ladle 1/4 to 1/3 cup pasta water into your serving dish, along with 1/4 cup pesto, a handful of grated cheese and 1 Tablespoon butter. Toss in pasta and stir to thoroughly coat. Serve with the amount of cheese preferred by each person.
Sweet Potato Fries and Andouille Tray Bake
Serves: 4
Ingredients
1.25 lbs sweet potato, cut into 1/2“ wedges
1 lb andouille sausage, but on the bias into 1/2“ chunks
1/4 teaspoon chili powder
1/4 teaspoon smoked paprika
Salt, to taste
Pepper, to taste
2 Tablespoons Olive Oil
2 Tablespoons Kale and Toasted Pecan Pesto (recipe above)
Method
Preheat the oven to 400F. Toss sweet potato wedges with olive oil, salt, pepper, chili powder and smoked paprika. Spread in an even layer on a baking sheet. Bake for 15 minutes. Remove tray from the oven and raise heat to 450F. Spread sausage slices evenly. Return to the oven and bake for five minutes, or until the fries are fully cooked and the sausage has crisped up a bit. Serve tossed with Kale and Toasted Pecan Pesto.
Monday, March 14, 2022
Miso Ramen with Roasted Chicken Thighs and Ramen Egg
Wednesday, January 5, 2022
Sweet Soy Ginger Tempeh with Kale Special Anniversary Edition
I’ve recently celebrated the ten year anniversary of my first blog post. To mark the occasion I’ve given the dish from that first post a bit of a makeover, as well as an updated photo (of sorts). Below are some excerpts from the first post and the update to the recipe.
Lately I've been craving Tempeh and Kale with rice; growing up as I did in Woodstock, it is considered something of a comfort food dish.
For those of you who are unfamiliar, Tempeh is a delicious soy protein cake made from soy and other whole grains fermented together. It is nutty, very dense and quite dry, which can make it difficult to work with. It softens and becomes more moist when it has been heated.
In this updated version of the recipe I sear the tempeh and use ginger in the accompanying light teriyaki style sauce. I was very happy with the small amount of zing it imparted to the tempeh in my dish. I recommend serving this with white rice.
Ginger Teriyaki Tempeh with Kale
Serves 2
Ingredients
1 lb tempeh, cut into 2” pieces
5 ounces kale, washed, stems trimmed & chopped into 1” pieces
1/2 yellow onion, julienned
1 teaspoon grated ginger
2 cloves garlic, minced or pressed
1/4 cup, plus 2 Tablespoons light brown sugar
3 Tablespoons low sodium soy sauce
2 Tablespoons neutral oil
1/2 teaspoon sesame oil
For Serving
3 cups cooked white rice
(optional garnish) small sprinkling of black sesame seeds
Method
In a small, heavy bottomed pan over low heat, combine soy sauce, sugar, garlic and ginger together with 3 Tablespoons of water. Bring to a simmer, then turn down to the lowest possible heat. Cook for 5-10 minutes, or until the sauce has reached the desired consistency (it will thicken a little bit on standing). Set sauce aside in the pan. Meanwhile, rinse rice under running water several times and drain. Bring to a boil with stock or water (I do half and half and since I like firmer rice I usually use 1 1/2 cups liquid to 1 cup of rice; this will make approximately 3 cups cooked rice), then reduce to the lowest heat. Cook rice for 12 minutes. Once you’ve finished the sauce and while the rice is cooking, add the oil to a large wok or saucepan, saute onion and kale together with a tiny pinch of salt and a pinch of pepper until cooked through. Set kale/onions aside. Add sesame oil to the wok. If needed, add more oil to the wok, enough to shallow fry the tempeh. Pan fry the tempeh on medium heat for about 1 minute per surface. Cook until it is lightly browned on all sides. To serve, reheat sauce, pile tempeh over greens and drizzle generously with sauce.
Wednesday, December 29, 2021
The Joyous Kitchen Turns 10! Celebrating 10 years of Food and Fun + 10 new ideas
Howdy folks! It's been too long! Yesterday was a long travel day for us, where we drove almost 400 miles home from visiting our family. We already miss them! yesterday was also the tenth anniversary of my very first blog post! Unbelievable that it has been a decade of food, fun, laughter and warmth 💕
To those of you who have followed along, commented and supported The Joyous Kitchen, Josh and I are so grateful for you! Thank you so much for your support; we are deeply thankful and I truly don't know what we would do without you! Since this is a special blog post, it will follow a special format. First, I'll announce ten ideas for The Joyous Kitchen, in honor of our ten year anniversary. Then, we will highlight the top five posts (by views). Stay tuned next Tuesday for a revamp of my very first post. It's about time I re-take my very first photo ever. Now on to the special content!
Ten Ideas for Ten Years
1. The Joyous Kitchen YouTube channel. Starting in January you can look forward to videos with recipes from The Joyous Kitchen, as well as special guest recipes. If you have interest in the occasional food history episode, let us know in the comments.
2. We are going to be featuring gardening tips, including composting tips, soil quality tips, planting times and recommendations on what to grow to nourish your family. I'll also have a guest on our YouTube channel who is a lifelong gardener and is full of fabulous information.
3. As many of you may already know, I've recently branched out into publishing with a monthly recipe magazine, first under the name Food in the Time of Quarantine and now under Global Gourmet Magazine. Under the former name it started as a magazine featuring pantry recipes; under the latter name our focus is now environmentally friendly recipes. The magazine includes recipes directly from my blog, but often with updated writing. It also features the writing and recipes of several of my very talented blogging friends.
4. One week a month I'll be doing a basics post. For example how to make gravy with a roux or the different types of mirepoix.
5. I'm planning a site redesign, which, 6. will include a skip to recipe feature.
7. I'm working on a garden to table cookbook. I hope to be making it available in the spring,
8. I've gotten into fridge pickles in a big way and I am experimenting with fermentation, so expect to see some fun pickle recipes in the future.
9. The Joyous Kitchen is excited to be featuring kids crafts and rainy day ideas.
10. Most excitingly, I'll be moving my blog to its own domain name, so it will be easier to find and share.
Top 5 posts:
Leftover Shakshuka with Potatoes
Grilled Salmon with Spicy Teriyaki Glaze
The Hound: Grapefruit, Vodka & Elderflower Cocktail


.jpg)